
Introduction
LMD or Linux Malware Detect is most commonly known under another name - Maldet which is a malware scanner for Linux. It is released under the GNU license.
Maldet is really handy malware scanner because it's a database for malicious files detection is also designed to work in a shared hosting environment and can be easily implemented without the hassle of long and difficult SysAdmin work. It also has other really cool features which I'll try to cover in this article.
Requirements / Prequisites
Since this is a Linux Malware Detection software you will need to install it on a Linux server. You can run Maldet on basically every flavour or Linux. I've tested the functionality on CentOS and Ubuntu servers and I can confirm that it behaves pretty well on both. For my installation purposes in this article, I will install it on Ubuntu 20.04 server.
Installation
The installation is not done via any repositories but you download Maldet via tarball from the Maldet official website. The commands you will need for the installation and download are: wget or curl for the download and tar to extract the downloaded tarball.
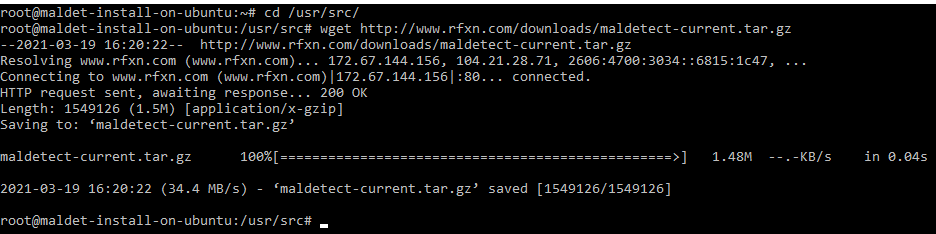
To download the archive you can execute this command:
wget http://www.rfxn.com/downloads/maldetect-current.tar.gz
The output of the command will look like this:
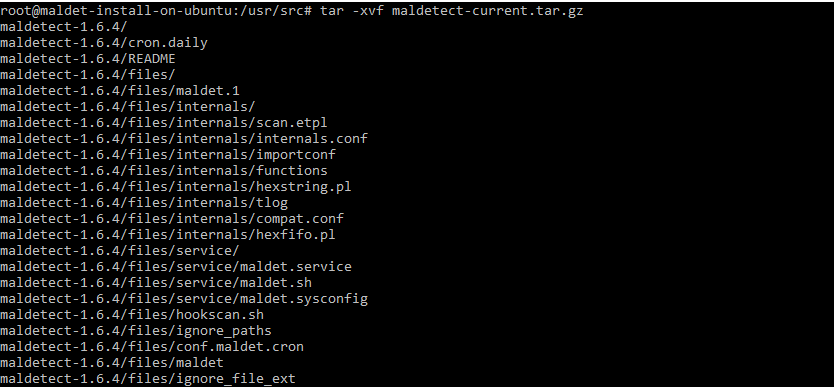
To extract the tarball you can use the tar command. The output of the command will look like this:
tar -xvf maldetect-current.tar.gz
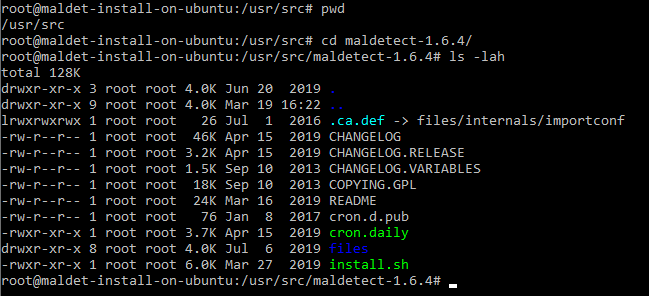
The current version is 1.6.4 but in the future, this is likely to change so you might need to access a different directory from the example below:
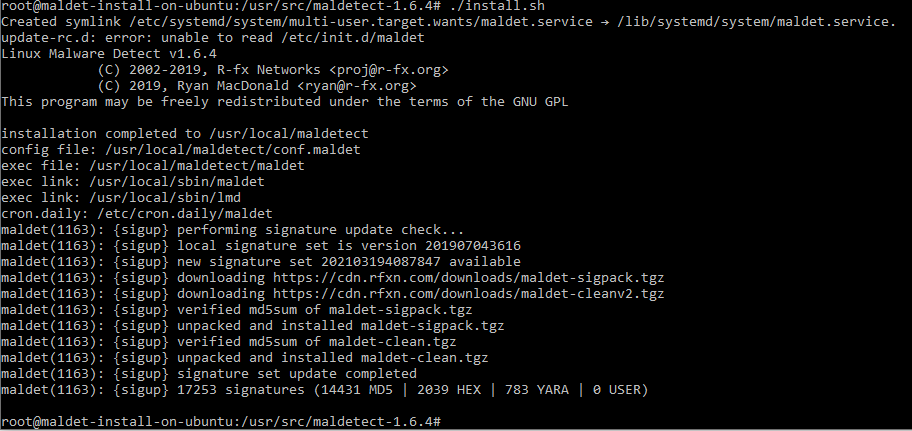
Next, we execute the installation script which is located in the maldet directory which we've just extracted from our tar ball:
One additional step to take will be to install and configure ClamAV as the default scanner engine.
To install ClamAV on your Ubuntu server you can use this command:
sudo apt update && apt-get install clamav clamav-daemon
Then you can open the config file and enable the ClamAV clamscan binary, however this option should be enabled by default. However you can check it by opening the config file /usr/local/maldetect/conf.maldet using your personal text editor and search for scan_clamscan . To enable it to set it to 1:
scan_clamscan="1"
Configuration
The location of the Maldet config file is:
/usr/local/maldetect/conf.maldet
The file contains detailed comments and everything is basically self-explanatory. There is also a README file which I'll recommend you to check out:
/usr/local/maldetect/README
The options that you can alter are:
email_alert="0"
email_addr="[email protected]"
Where email_alert can be set to 1 for receiving email notifications on scans and also supply the email address that will receive the reports as well
Note: The quarantine options are the ones to take special care of because you can configure maldet to move infected/suspicious files from outside of their current directory to a quarantine directory which can prevent your website or application from working.
For example, if the index.php is infected with a base64 malicious script and the quarantine option is enabled, Maldet will move the file from the public_html as instructed and will basically take down your website.
[ QUARANTINE OPTIONS ] The default quarantine action for malware hits [0 = alert only, 1 = move to quarantine & alert] quarantine_hits="0"
Try to clean string based malware injections [NOTE: quarantine_hits=1 required] [0 = disabled, 1 = clean] quarantine_clean="0"
The default suspend action for users with hits Cpanel suspend or set shell /bin/false on non-Cpanel [NOTE: quarantine_hits=1 required] [0 = disabled, 1 = suspend account] quarantine_suspend_user="0"
Please change the quarantine options with special care in order to prevent issues. Maldet can be really useful to monitor your system but also can cause issues for the general experience of the users on the server if there is a misconfiguration.
Usage
Maldet is really easy to use. I will recommend everyone to check the help page where you can see all the arguments you can use and also all the options and features.
To check the help page you can execute:
maldet --help
In order to scan a directory on your server you can use the -a argument and to put the process in the background you can use the b option since if the directory contains thousands of files the scan will take a while to complete.
An example is a maldet scan for a freshly installed WordPress which for version 5.7 containers 2189 files and it took 3 minutes to complete
The scan was initiated using this command and the output is:
maldet -b -a /home/site/wordpress/

To monitor the scan in real-time you can use tail to and monitor the event_log in order to do that you can use this command:
tail -f /usr/local/maldetect/logs/event_log
and the output will look like this:
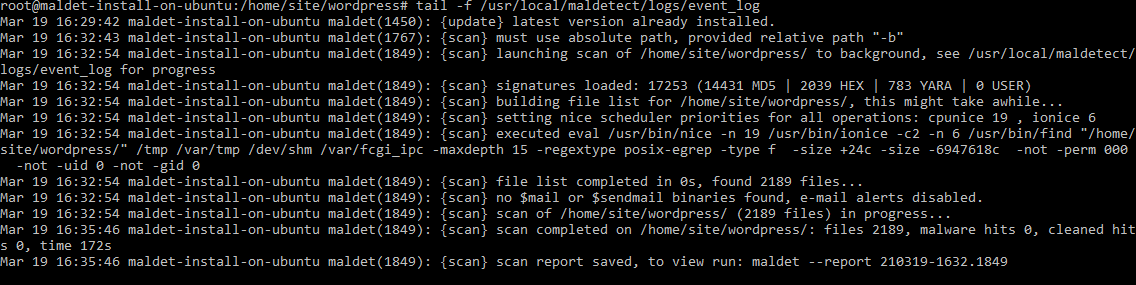
Once the scan is completed you will see the following message at the bottom of the log:
Mar 19 16:32:54 maldet-install-on-ubuntu maldet(1849): {scan} scan of /home/site/wordpress/ (2189 files) in progress...
Mar 19 16:35:46 maldet-install-on-ubuntu maldet(1849): {scan} scan completed on /home/site/wordpress/: files 2189, malware hits 0, cleaned hits 0, time 172s
Mar 19 16:35:46 maldet-install-on-ubuntu maldet(1849): {scan} scan report saved, to view run: maldet --report 210319-1632.1849
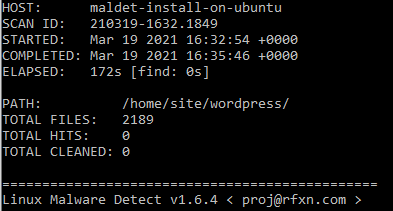
As you can see the report is done and you can view it you can run the command provided in the log:
maldet --report $SCANID
Note: Make sure to change $SCANID with the ID of the report provided in the log
In this case we will see the following output for default WordPress 5.7 clean installation.
If you wish to receive a copy of the scan on your email you can use the following command:
maldet --report $SCANID [email protected]
Keep in mind that you can also navigate to the directory which you want to scan and just execute:
maldet -b -a .
I personally prefer to supply the full path of the directory to scan since it is not uncommon to receive messages like this one maldet(1767): {scan} must use absolute path
Usefull commands/options
To scan a directory:
madet -a /full/path/to/directory
To process the scan in the background:
madet -b -a /full/path/to/directory
To receive an email of an existing/completed scan:
maldet --report $SCANID [email protected]
To monitor directory:
maldet --monitor /full/path/to/directory/
To monitor user/s:
maldet --monitor users
Note: Change users with the actual username of the user you want to monitor
To get list of all reports:
maldet -e list
To update the installed version of Maldet:
maldet -d
And my personal favourite as it has saved my ass so many times. To restore/move the files that have been quarantined from a scan with the quarantine option enabled.
maldet -s $SCANID
I will also recommend you to check the README file as it contains useful information on how to use Maldet on your server and take full advantage of its features.
Conclusion
I personally have used Maldet for several years now I can confirm that it is really useful under shared hosting and also you can provide detailed results of the scan with the detected files and why they're reported as malicious as well.
You can tweak the configuration to monitor the users on your servers and take actions if this is needed without the need of manually logging and disabling users or moving/purging malicious files.
I hope that you find this useful and feel free to share your thoughts and if you use other scanners t monitor your server.